Git – is the fast, simple and easy to use version control system, and of course it’s a free software! Git is basically a distributed version control system (unlike subversion, which is a Centralized one) and you can even work offline, because network access is required only when you want to sync project files (using push, pull or fetch command). If you are new to version control system, then you must give it a try, it will make your development work less painful.
Ubuntu has now become a popular choice for development platform, so if you’re new to Ubuntu, then in this article you will learn how to start using git on Ubuntu 11.10/12.04/or older versions.

Install Git from Official Package Repository
it’s the most easy and recommended way to install Git on Ubuntu, but sometimes you may not get the latest version from the package repository, so unless you have strict version requirements/dependencies go for this method.
open a terminal and execute –
sudo apt-get install git-core
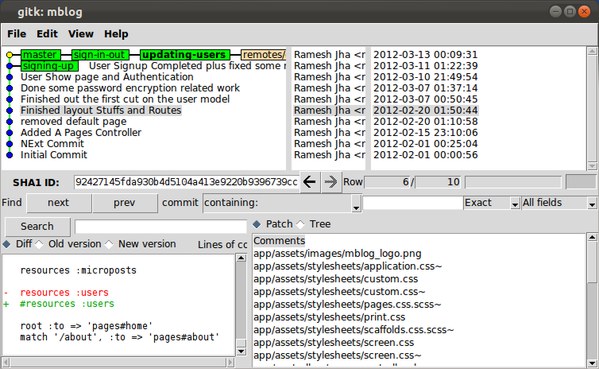
After installing Git, you may like to install gitk for visualizing commits in graphical way.
sudo apt-get install gitk
Installing Git from Source
If you install git from source, you will always get the latest version. You may have to install some dependencies such as curl, zlib etc before installation procedure.
Install dependencies
sudo apt-get install devl expat openssl zlib1g zlib1g-dev
Download the latest source code from the official site, and extract it. Then execute the commands (from the directory) –
make prefix=/usr all
sudo make prefix=/usr install
That’s All, now you can start using git for your project. e.g
cd your_project_directory
git init
git add .
git commit -m "It's my first commit"
Recommended Reading(s)
- gitref.org – A good Reference/Tutorial for git
- Intro to Git – Good introduction to Git, available in Video and PDF formats
sudo apt-get install git-core
is no longer valid for 12.04