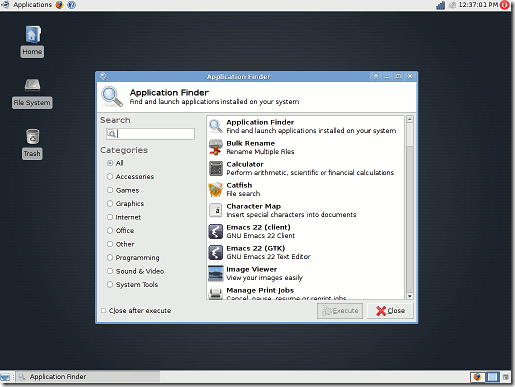
This post will explain you how to install XFCE,a light weight Desktop Environment,on Ubuntu 10.10 Maverick Meerkat,by using Synaptic Package Manager and Commands.Ubuntu 10.10 has GNOME Desktop by Default which pretty good for most of the desktop users but if you are running an old computer with low graphics capability and RAM,then XFCE is the best choice.
Installing XFCE in Ubuntu 10.10

The most simple way is to install xfce from synaptic package manager or ubuntu software center.Use quick search button and search for ‘xfce’ then install the latest build packages(check the box and click on Apply to install).For step by step tutorial see here how to install xfce .
Installing XFCE from Command Line/Terminal
open terminal(hit CTRL+ALT+T) and enter the following command(s)
sudo apt-get install gdm xfce4
After completing the installation steps,logout from the current session and select XFCE at login screen from drop down menu.If you want to use XFCE in future then change the default desktop from GNOME to XFCE.To do this first go to System -> Administration -> Login Screen and unlock it by entering your login password,and select XFCE as Default window manager.
Have Fun with XFCE…let me know through comments if you have any problem.
