MySQL is one of the most popular open source Relation Database Management System (RDBMS), used very widely developing database based Applications – it’s specifically very popular in web development (The blog – you’re reading right now, is based on wordpress, which also uses MySQL databases for storing contents such as post, category, comments, and other meta data). Since Ubuntu (11.10 beta 2 – latest version, final is coming within few weeks) has now become the most popular choice for application development, LAMP (Linux, Apache, MySQL and PHP).

In Ubuntu 11.10 (based on Gnome 3), synaptic package manager has been removed so you can use Ubuntu Software Center or terminal (or install synaptic package manager in Ubuntu 11.10 (Oneiric Ocelot) if it’s you favorite application for managing application – although due to some major improvements in Ubuntu Software Center you might not need it anymore).
In Ubuntu or any other Linux based systems there are lot of other database programs are also available such as SQLite, mongoDB, H2, CouchDB, etc but MySQL is probably the most reliable, fast and powerful database – although it depends on the type of application or your interest.
Installing MySQL in Ubuntu 11.10 – Oneiric Ocelot
I prefer Terminal for managing applications, as I think it’s very handy, although installing new softwares/Apps from Software center is also very simple – just search for the mysql server meta package (if you don’t know the actual name of the package then search using name of equivalent proprietary software, e.g if you search for Photoshop then you will get GIMP) which will automatically select the latest version and click on Install button….and wait for the download/installation procedure to finish and you’re done!
1. Open a terminal (Ctrl+Alt+t) and execute the following command(s)
sudo apt-get install mysql-server
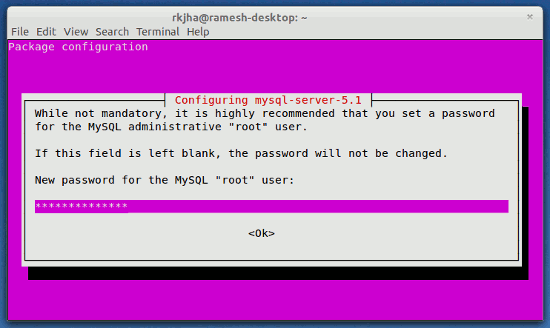
2. During the installation process – you will be prompted to set the password for root user (for MySQL server).

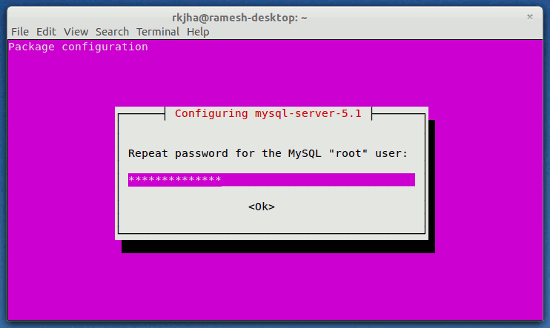
Then, enter the password again (for confirmation) and the installation process will complete within a minute.

3. That’s All..you’re successfully installed the mysql server, client and other dependent packages successfully.
Login to MySQL Server in Ubuntu @localhost

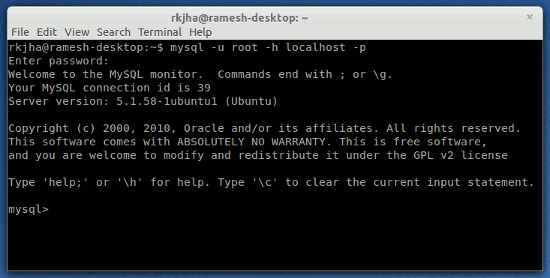
Now, you’ve mysql program installed on your computer, you can start creating databases, tables, users ..whatever you want! Login using terminal or install a query browser tool (search in Software Center). In terminal execute the command –
mysql -u root -h localhost -p
Then enter your root password (you entered during installation – step#2 ) and you will get the mysql prompt.
mysql>
Just for testing purpose, lets create a database. Execute the following commands –
create database forfun;
show databases;
Have Fun!

Is the tutorial works for Ubuntu 10.10?
this work for ubuntu 11.04 perfectly no doubt….
thanku very much its help me a lot i am newbee in ubuntu and mysql too..
thank you dear!
thanks, it works