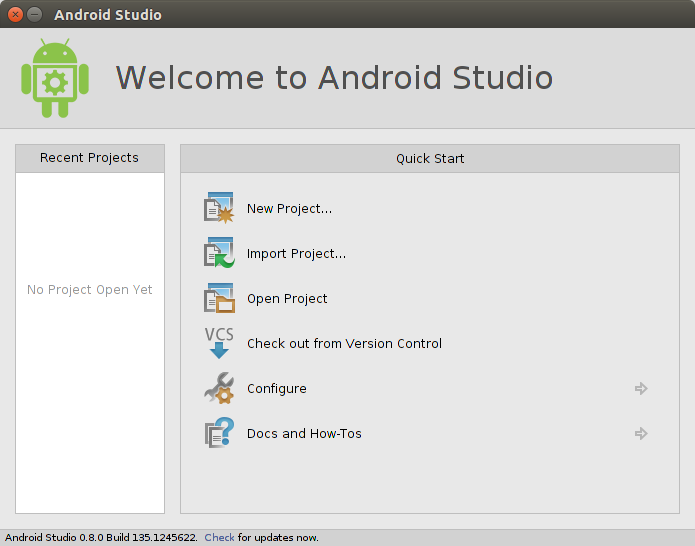
Android Studio is the new development environment for Android (officially recommended). It’s based on IntelliJ IDEA (Integrated Development Environment from JetBRAINS).

You can still use Eclipse IDE though (however, it may not be supported once the Android Studio comes out of beta) but Android Studio brings lots of new features and improvements (Advanced Android code completion and refactoring, multiple APK generation, Maven based build dependencies etc), so lets set up Android Studio on Ubuntu/Linux. (tested on Ubuntu 14.04 LTS (64 bit Intel Machine))
1. Install JDK 6 or later
First, install Oracle JDK 8 (although you could also choose OpenJDK but it has some UI/performance issues) using WebUpd8 PPA.
sudo add-apt-repository ppa:webupd8team/java
sudo apt-get update
sudo apt-get install oracle-java8-installer
sudo apt-get install oracle-java8-set-default
To make sure, it’s installed successfully, open a terminal and type (you should get the version number of the jdk you’ve installed e.g javac 1.8.0_11)
javac -version
2. Download and install Android Studio
Download the Android Studio package for Linux and extract it somewhere (e.g home directory).
Then type :
cd android-studio/bin
./studio.sh
3. Install SDK Platforms
You need to install some SDK before you jump into building android apps. Click on Configure -> SDK Manager to open Android SDK Manager. Select the latest API (to test against target build, e.g API 19 (Android 4.4.2)) and some packages in Extras (Android Support Library and Android Support Repository). Then install the selected packages.
That’s all. Now, the development environment is ready 🙂
If you need some help then learn Android development at TreeHouse or checkout official docs.