Since you’re here, we don’t have to be Sherlock Holmes to deduce that you’re probably interested in the best video editing software available for Ubuntu. However, before we talk about such solutions, we’ll have to ponder: what is video editing?
Ask two people about it, and you might get different interpretations of what “video editing” means. One might tell you that “it’s what they do to create Hollywood magic”. Another that “it’s changing the sequence of videos in a playlist”. They’d both be right.
Many tools deal with video files and fall under the general “video editing software” umbrella term. However, each might have a different goal. Some of them allow you to transcode or recompress video files to various formats. Others specialize in stitching together multiple video files together to make a feature-length documentary of your kitten’s antics.
For this article, we’ve split our list into several subcategories, depending on the purpose of each program, to help you quickly find precisely what you need.
Types of Video Editing Software
There are multiple subcategories under which we could classify the myriads of video editing tools available today. However, we believe that the following categories are the ones most people would agree on, and are descriptive of each tool’s specialization and goals.
The tools themselves are established, tried, and tested solutions. You can’t go wrong with any of them.
Ubuntu Video Converters, Transcoders, and Compressors
The programs in this group specialize in processing files to change their video or audio encoding or their file format.
Handbrake
Handbrake is one of the easiest and feature-rich re-encoders/transcoders ever released. The program can take almost any type of video as its input and convert it to multiple other formats.
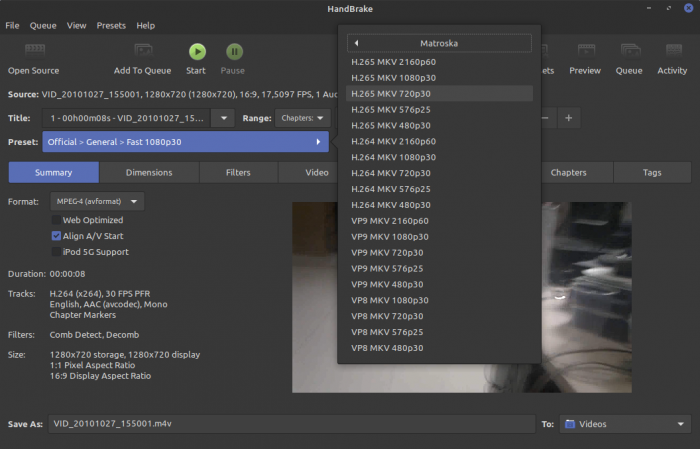
Do you want to compress VOB files that you ripped from your old wedding DVD to an MP4 file with H.264 video and AAC audio compression to play on your smartphone? Maybe also to a classic AVI file, with XviD video and MP3 audio compression, that would work on grandma’s media center? Then, Handbrake Is the tool you seek.
To use it:
- Load a file in it
- Set the encoding parameters.
- Either begin converting your file…
- …or add it to Handbrake’s queue and repeat your previous steps to add more files for batch processing.
Pros:
- Feature-rich.
- Supports almost all popular codecs and formats.
- (Relatively) easy to use.
Cons:
- It can get complicated if you look into details (and all available encoding options).
- Still, it’s also the opposite: not as advanced as tools like MeGUI (which, unfortunately, is only available on Windows).
FFmpeg
Fans of the terminal might look at all of Handbrake’s tabs, menus, submenus, and dozens upon dozens of options and get a headache. Wouldn’t a tool where you type a single command be easier for everyone not allergic to keyboards? Well, it can be, as proven by FFmpeg.
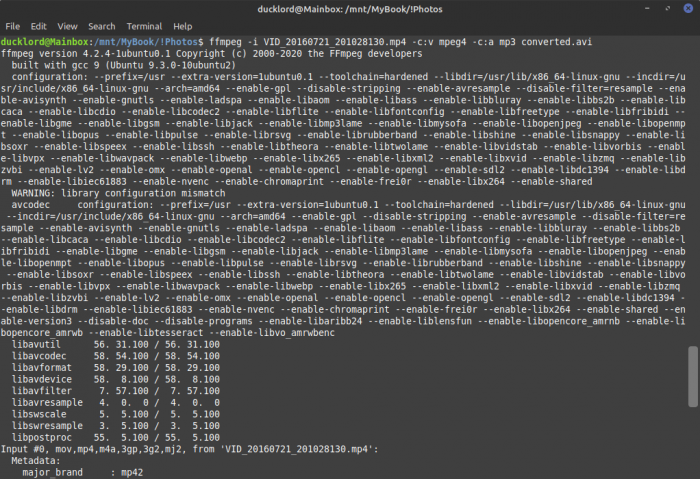
One of the oldest and most respected projects in its field, FFmpeg is an unbelievably versatile media converter. With it, you can turn almost any media file into a different format.
Pros:
- Maybe the most powerful media converter on Linux.
- It can be as easy or complicated as you need.
- Broad support for multiple formats and codecs.
Cons:
- It usually ends up a little more complicated than you’d want.
WinFF
You want to take advantage of FFmpeg but don’t like how it can get insanely complicated? That’s precisely why you can find GUIs for FFmpeg that turn it into a Handbrake alternative. “GUIs” like WinFF, that strike a nice balance between ease of use and exposing of FFmpeg’s features.
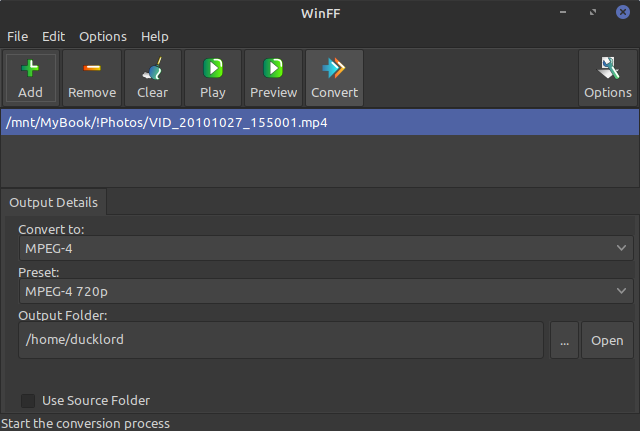
The program is very easy in its use:
- Choose the media you want to process.
- Select an output preset.
- Click on the “Convert” button.
Pros:
- One of the most accessible multi-format converters.
- Allows batch conversion of multiple files to a new format instead of having to set up encoding options individually for each one of them.
Cons:
- Too simple for those who want absolute control of the encoding process.
Light Video Editing on Ubuntu
The tools that follow are the easiest for when you want to extract some clips from a larger video, or the opposite, combine multiple smaller videos in one.
Avidemux
Avidemux doesn’t have the features of solutions like Adobe’s Premiere or DaVinci Resolve. However, that’s intentional, and an irreplaceable part of its identity since it also means it’s not as complex, slow, and “heavy” on resources.
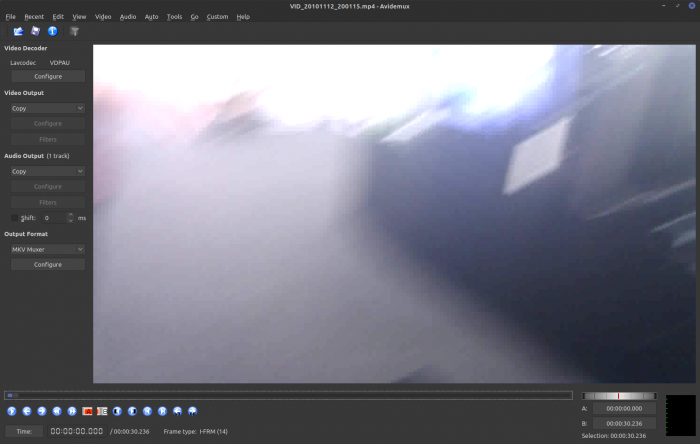
Quite the opposite, Avidemux is a small, fast, and very easy-to-use video editor. You can use it to remix and re-encode videos, but its superpower is clip extraction. That’s because, unlike similar solutions, it allows you to extract individual clips from a larger video “losslessly”. By keeping the same encoding for the video and audio of the extracted clips, Avidemux doesn’t have to re-encode them. So, there’s no drop in quality, nor waiting for hours for their recompression.
Pros:
- One of the smallest, fastest, and easiest to use video editors on Ubuntu.
- Can losslessly extract clips from larger videos without re-encoding them.
Cons:
- Not the best for nonlinear multi-video editing or recompression.
VidCutter
If you find Avidemux too complex for your liking, VidCutter is an excellent alternative. With an even simpler design, VidCutter allows you to “trim” individual videos to keep the exciting parts and lose the fluff.
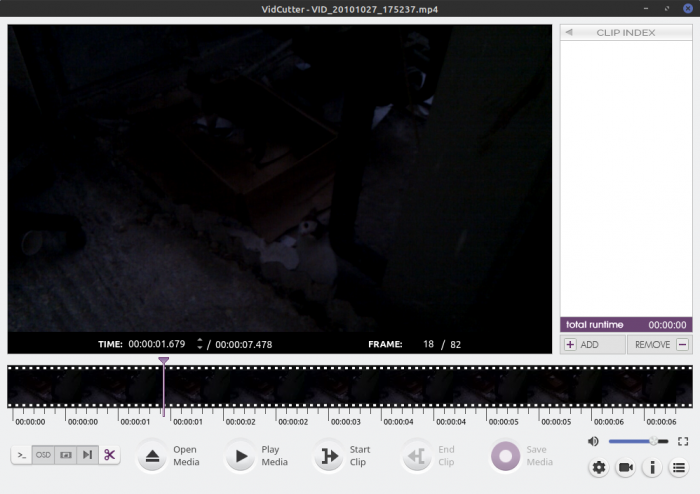
Although VidCutter also allows the opposite, combining multiple clips into one, it’s not the best for that. Its interface is better tailored to trimming and working on a single clip at a time.
Its use is dead-easy:
- Open the file you want to edit.
- Move the marker on the timeline to the point where you want your new clip to begin.
- Click on “Start” to set it as the starting point.
- Repeat for the ending point and click on “End”.
- Finally, click on “Save” to extract your clip.
Pros:
- The easiest video trimmer on Ubuntu.
Cons:
- Not the most outstanding solution for editing multiple videos.
Video Editing Suites for Ubuntu
Maybe you are not recompressing videos for grandma or extracting funny clips of your kitten’s adventures. Instead, you’re seeking a rich toolkit to create your own feature-length indie blockbuster alternative. In such scenarios, you’ll probably need a full-blown editing suite to show Hollywood how it’s done. “A full-blown editing suite” precisely like the ones that follow.
DaVinci Resolve
Would you like access to the same tools used by the professionals behind Hollywood blockbusters like Alita: Battle Angel, Fast & Furious Presents: Hobbs & Shaw, and Godzilla: King of the Monsters? And, here’s the kicker, for free? Meet DaVinci Resolve!
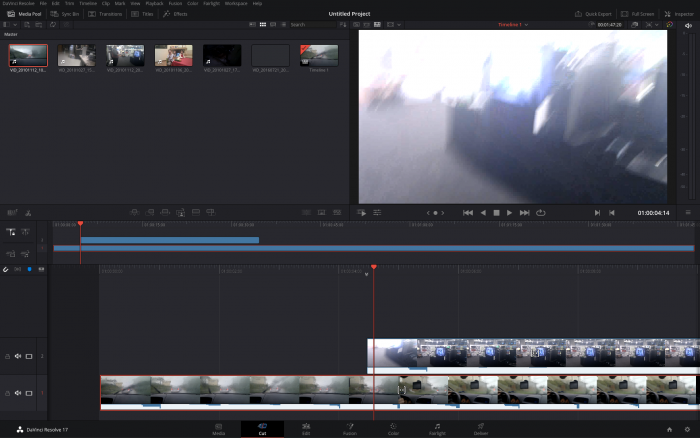
A truly professional solution, DaVinci Resolve allows nonlinear editing of multiple clips, color correction, visual effects, motion graphics, post production, and, of course, output compression.
As expected by such a solution, it’s much more complicated than other tools in this list. Also, it demands a significant time investment to learn how to take advantage of its features.
Pros:
- Professional one-stop video editing solution.
- Allows you to do (almost) anything you imagine (and then some).
Cons:
- Complex by nature.
Lightworks
Another professional video editing solution for Linux, Lightworks is the established piece of software behind Hollywood favorites like L.A. Confidential, 28 Days Later, Bruce Almighty, The King’s Speech, and The Wolf of Wall Street.
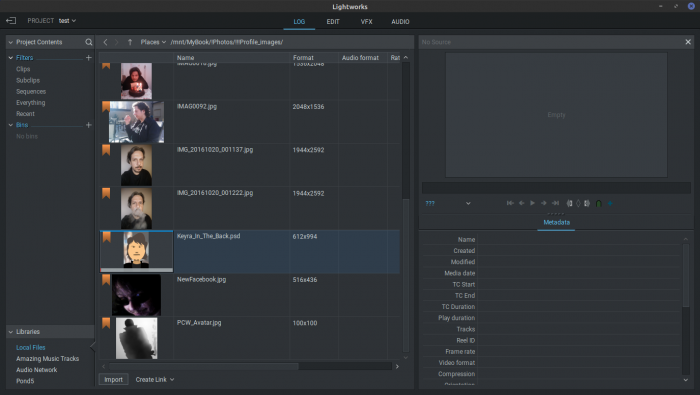
However, its “freemium” model will probably not be to the liking of GNU fans: you will have to register to use it, and even then, accept some limitations compared to its unrestricted – and commercially available, AKA “non-free” – version.
Pros:
- (Another) professional one-stop video editing solution.
- Proven track record, awarded with 2017 EMMY for pioneering digital nonlinear editing.
Cons:
- Freemium, not free.
KDENlive
Do you need a full-featured nonlinear video editor but find DaVinci Resolve and Lightworks overkill? Say hello to KdenLive.
Closely related to the KDE project, as hinted by its full name, “KDE Non-Linear Video Editor” is a simpler alternative to those two solutions.
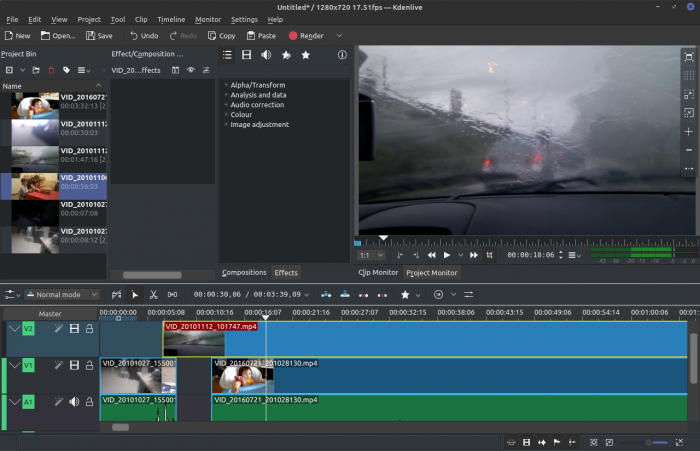
Like them, it supports multitrack video editing, the use of filters and effects, post processing, etc. However, unlike them, it’s entirely free, not limiting or hiding any of its features in a paid tier.
Pros:
- Almost pro-level nonlinear multitrack video editor.
- Fully free and open source.
- Closely related (and nicely integrated) with KDE.
Cons:
- Not the most stable – it crashed on us multiple times when using various large clips in parallel.
The Extras
There are many more video editing tools worth checking out. Unfortunately, our time and space are limited, and we didn’t want this article to turn into an e-book. Thus, we had to skip some of them, but that doesn’t mean you should, too. Your demands and preferences might not align with ours, and you might prefer one of those alternatives:
We believe it’s worth mentioning that you probably already use a tool with some basic video editing capabilities without realizing it! We are talking about the very popular VLC player, which you can use for your basic video editing needs.
Video Editing with VLC
Apart from playing most media files, VLC player also allows you to extract clips from them without having to use a dedicated video editing solution.
To do that, open the file from which you want to extract a clip. Then:
- Enable “Advanced Controls” from the “View” menu.
- Use the progress bar and cursor keys to move to a point right before the beginning of the clip you want to extract.
- Use the “Frame by frame” button (the fourth one in the Advanced Controls that appeared) to find precisely the frame where you want your extracted clip to begin.
Now, you can take two paths:
The Realtime Approach
- Press the “Record” button (first in the Advanced Controls that appeared) to start playback.
- Press it again when you reach the point where you want your clip to end.
- That’s all you have to do! However, although simple, this approach is also somewhat inaccurate.
The More Detailed Solution
- As before, move to where you want your clip to begin, but note down the start time.
- Use the progress bar, cursor keys, and “Frame by frame” button again to find where you want your clip to end. Note down the time again, as mentioned on the left of VLC’s progress bar.
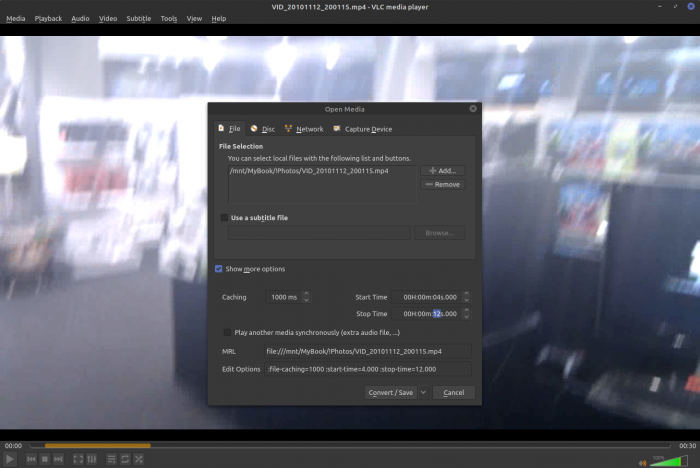
- Choose “Convert / Save …” from the “Media” menu, or press CTRL + R on your keyboard.
- Drag and drop the file from which you want to extract a clip into the “File Selection” box at the top of the “Open Media” window. You can also use the “Add…” button on the right of the list to choose a file.
- Enable “Show more options”, and enter your clip’s start and stop time on the respective fields on the right of the window.
- Click on “Convert / Save”, choose where you want to save your extracted clip.
- Click on VLC’s main “Play” button to start the clip’s extraction.
Which Should You Choose?
The video editing solution you will go for depends on what you need. As we saw, there’s something for everyone, and we’ve only covered some of the best video editing tools for Ubuntu. There are many more worth checking out. Still, if you can’t invest the time to test each one of them individually, the ones we saw should be good for most needs and users of all levels.
So, which one will you choose? Are you already one or more of them? Maybe you prefer some alternatives we missed? Tell us in the comments section below.