You just installed the latest version of Ubuntu 64 successfully. Now, you are looking at your brand-new desktop feeling a bit lost. In your brain echoes the very same thing text adventures used to ask you back in the day: what now?
A new OS, and its desktop, aren’t useful until you customize them the way you want and add the apps you prefer. However, that can get complicated, and it’s easy to forget about something. That’s the reason I’ve created this list of the ten things I do whenever I install a “vanilla” version of Ubuntu on a new computer.
I hope it also helps you with your brand-new installation of Ubuntu.
1. Configure Everything
Many people complain about how their new OS looks or works but don’t spend some time checking out its settings. Don’t be one of them since there, in those settings, you may find options that tweak the looks and behavior of your desktop precisely the way you want it.
Pay a visit to Ubuntu’s main menu, and start typing “settings”. Choose that entry when it shows up.
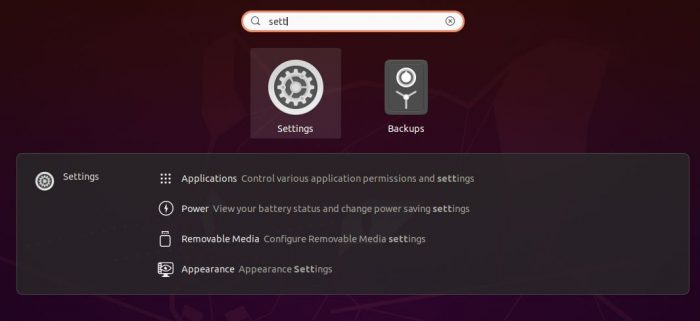
Go through all the settings, and configure how your system, desktop, and applications will work. From here, you can integrate the desktop and some installed applications with online accounts, configure keyboard shortcuts, etc.
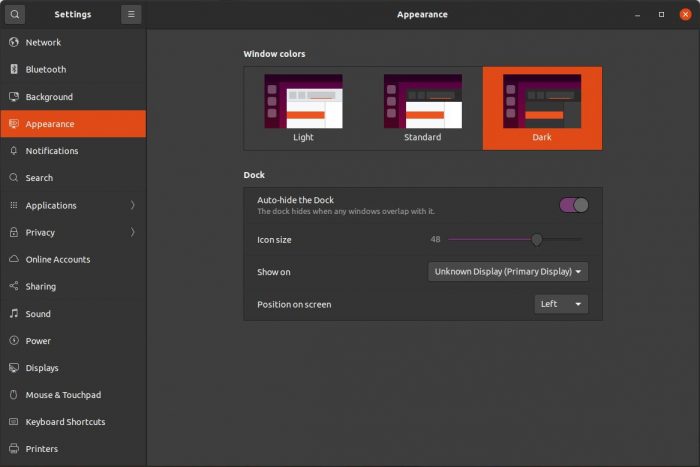
Most people will probably be interested in the Appearance page of settings, from where you can change options like the desktop theme or the position of the dock.
2. Eliminate the Wait in Grub
You might have noticed a menu popping up whenever your PC boots, offering you a choice between Ubuntu and…
The truth is, GRUB, that menu (actually “a boot manager”), is more useful if you are using multiple operating systems in parallel. GRUB then allows you to choose the OS you’d like to load each time your computer boots.
Note: GRUB’s ultra-useful when your distribution fails to load since it allows you to boot with extra (troubleshooting) options.
The problem with GRUB is that, by default, it waits for 10 seconds for user input. If you are not actively using GRUB each time your computer boots, this waiting time translates to a 10-second delay for no reason. So, eliminate them!
Fire up your favorite terminal and enter the command:
sudo nano /etc/default/grub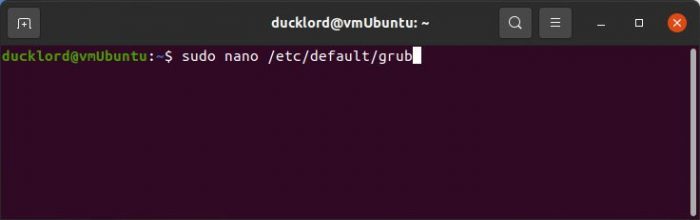
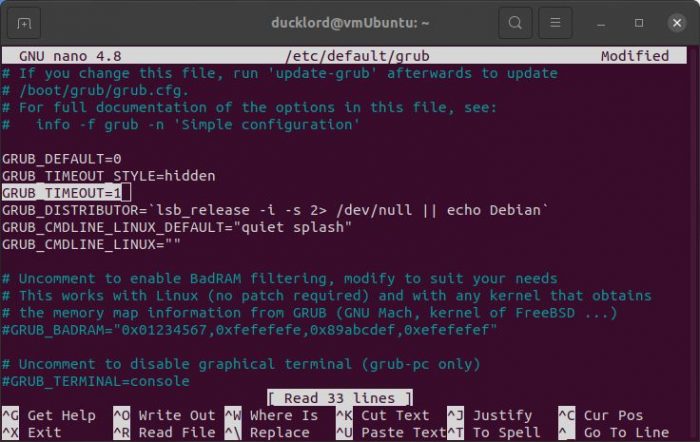
The above command will open GRUB’s configuration file in the nano text editor. Locate the line:
GRUB_TIMEOUT=XXThe “XX” in the above line will be a number, usually “10”, which means that GRUB will wait as many seconds for the user to do something before booting the default OS. Enter a number like 1 or 2 to have GRUB only wait for one or two seconds.
Press CTRL + X to exit nano, type “Y” and press Enter to save the changes, and then update GRUB with its new configuration, with the command:
sudo update-grub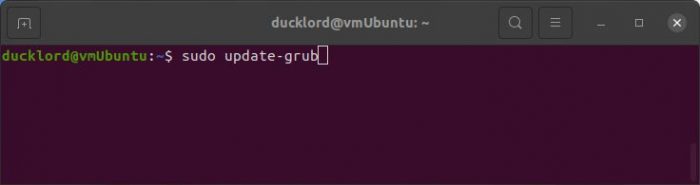
After this little change, your next boot will be much quicker.
3. The Many Benefits of zRAM
Would you like a much snappier Ubuntu installation without much fuss? Then, install zRAM!
ZRAM takes up a part of your computer’s actual RAM, turns it into the equivalent of swap space, and slaps intelligent compression on it.
The result is the equivalent of having more RAM on your computer, almost for free. “Almost”, because zRam’s compression places an additional load on the CPU. Thankfully, this load is so small that the difference it makes is imperceptible, especially with modern CPUs.
To reap the benefits of zRam, you only have to install it by entering in your terminal:
sudo apt install zram-config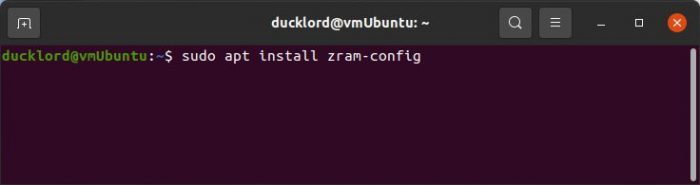
If you want to modify the amount of RAM zRAM uses, edit its configuration file with nano, with the command:
sudo nano /usr/bin/init-zram-swapping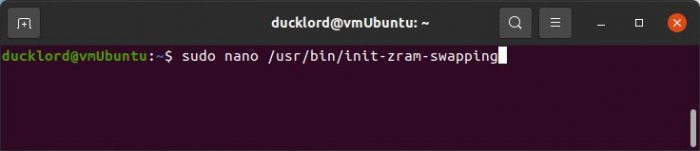
There, notice the line:
mem=$(((totalmem / 2 / ${NRDEVICES}) * 1024))The easiest way to change the amount of RAM used by zRAM’s volumes is by changing the number at the end, which by default is set to 1024.
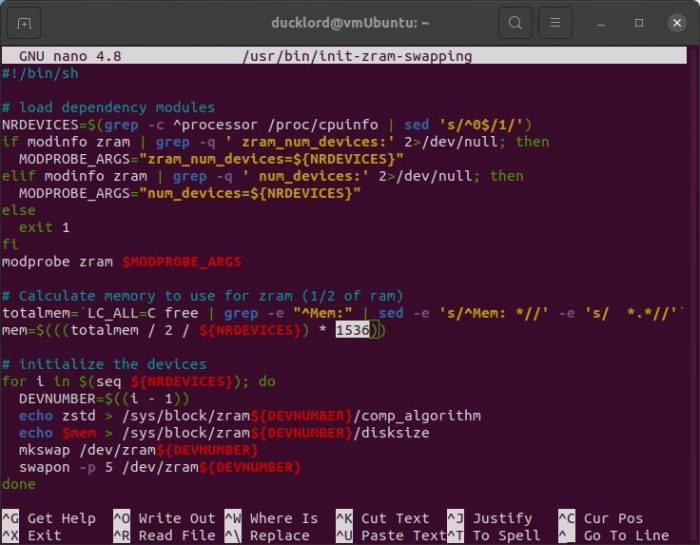
For example, if you use the number 512, zRAM will use half the RAM it originally would. Similarly, by changing the number to 1536, zRAM will eat up 1/3rd more RAM than its default settings.
4. Extend Your Desktop
Those who claim that Ubuntu’s desktop is too restricted compared to alternatives forget that it’s based on GTK, which means it’s insanely customizable and extensible. However, those features are indeed somewhat hidden by default, and you need some initial grease work to enjoy them.
First, search Ubuntu’s software center for “GNOME Tweaks” and install it.
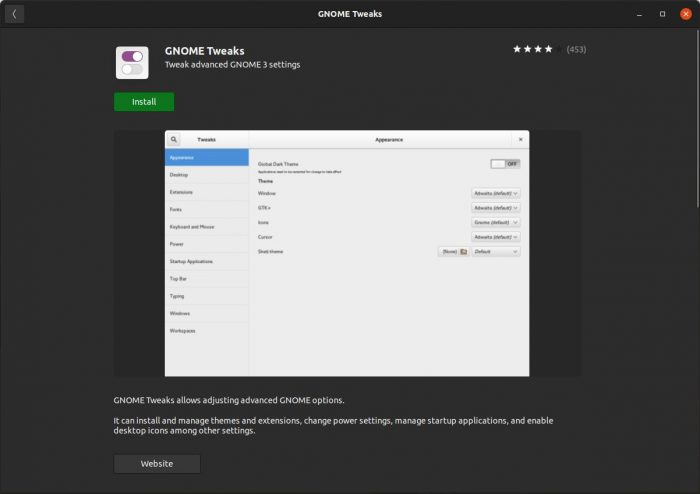
GNOME Tweaks comes with enough settings on its own to allow you to make your desktop your own.
However, you can turn the dial to 11 by using extensions.
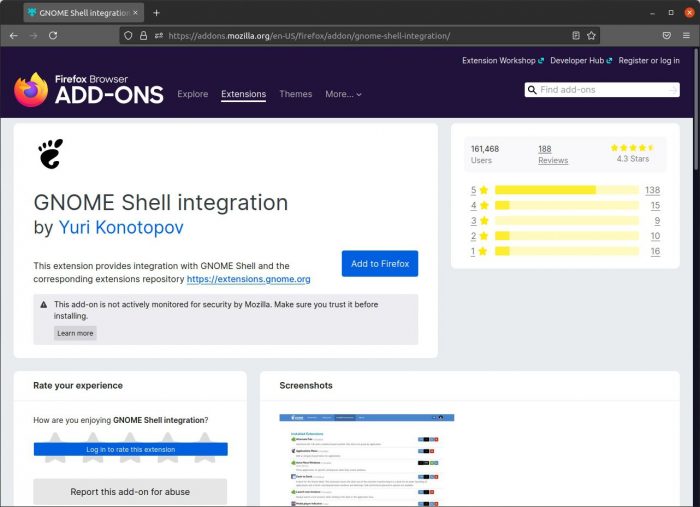
Fire up your favorite web browser and search for the “GNOME Shell integration” add-on/extension for it. Then, install it like any other add-on/extension.
With both GNOME Tweaks and the GNOME Shell integration add-on for your browser installed, pay a visit to Gnome’s official extensions site.
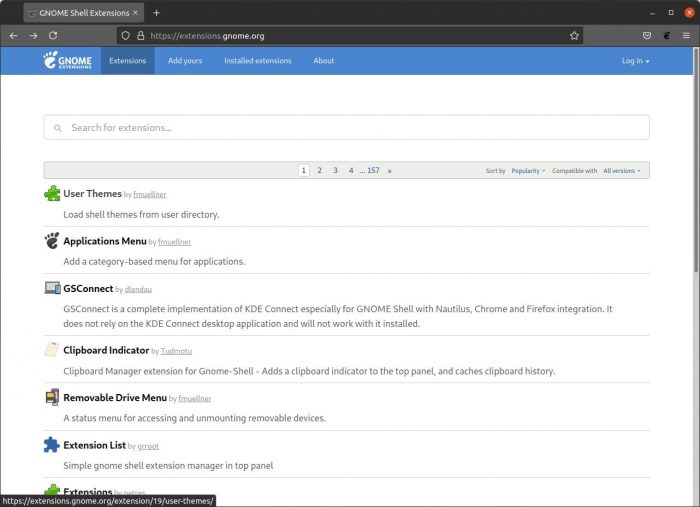
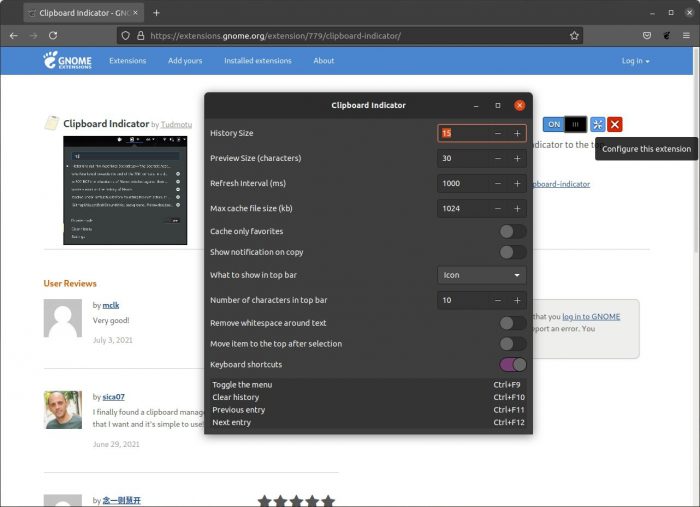
I won’t tell you which extensions to add to your desktop since it’s a matter of personal preference. Browse the site’s list, and for every extension you want to add to your desktop, visit its page and click on the “on/off” switch on the top right.
If you leave an extension’s page and then return while it’s active, you will see more options that, apart from disabling it, also allow you to remove it or, if it’s configurable, offer access to its settings.
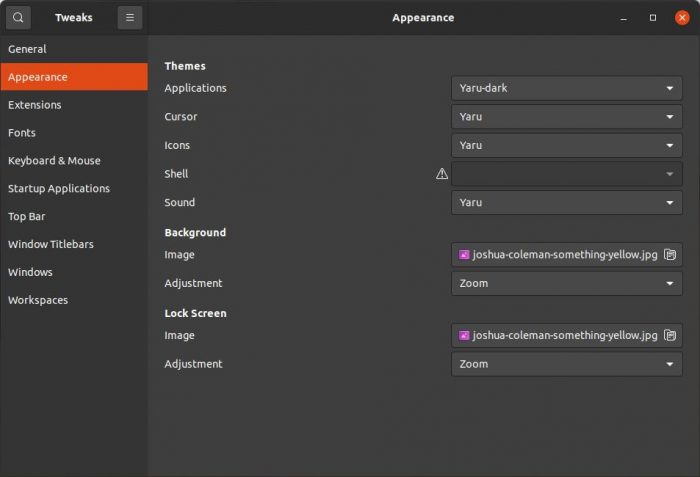
Another way to control your extensions is through the GNOME Tweaks application, which has a dedicated page for Extensions.
5. Install a Dock
Although you don’t need one, having a dock offers instant access to your apps. Plus, docks are prettier and more customizable than the operating system’s “official ways” of launching and managing active apps.
There are dozens of such applications, and Plank is one of the best. Plank combines aesthetics with simplicity and gives you precisely what you’d expect from a dock. No more, no less.
To install Plank on Ubuntu, use:
sudo apt install plank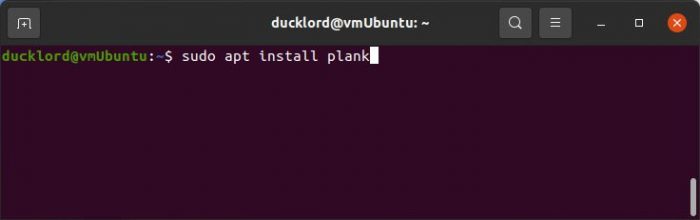
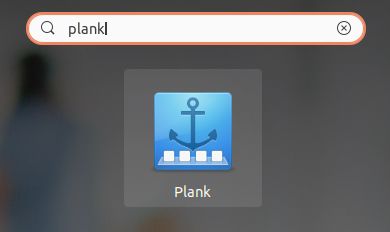
After its installation completes, find it among the rest of your apps and run it.
Plank will appear at the bottom of your screen, showing shortcuts to some popular applications, as well as your active ones.
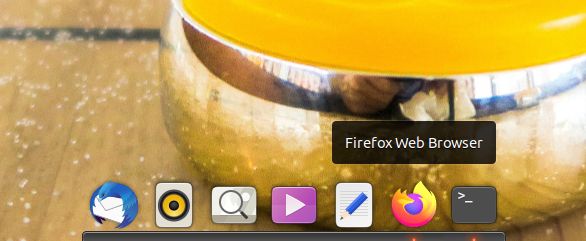
You can use it as it is or customize it precisely as you’d like, by changing its theme, its effects, and, of course, the shortcuts it presents.
6. Upgrade Your Terminal
Despite modern Desktop Environments being vastly superior to their ancestors, we still spend a lot of time every day in our terminals. So, why use the default one that comes with the operating system? It might be good in its own right, but like other apps baked in the operating system, you can probably find even better alternatives.
Although “better” can be arguable, in this case, I refer to alternative solutions that offer more features, customizability, or both. One such that I almost always use on Linux distributions with GTK-based Desktop Environments is Guake.
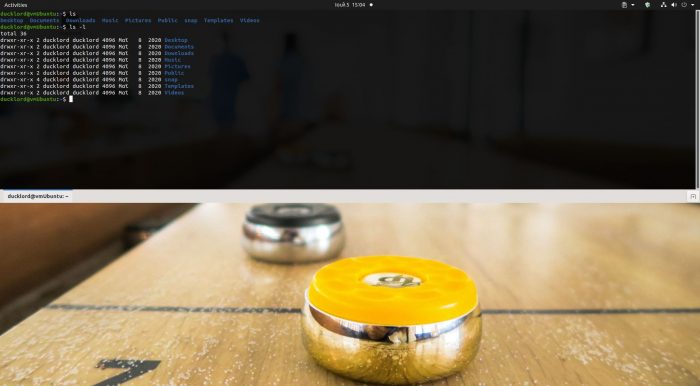
Guake follows the same visual approach made famous by the drop-down console window where you entered commands in the classic game Quake by id Software. When active, Guake stays hidden until you need it. Then, with the press of a hotkey, it slides down from the top part of your screen, waiting for your input. Press the same hotkey, and it’s gone again.
To install Guake, use:
sudo apt install guake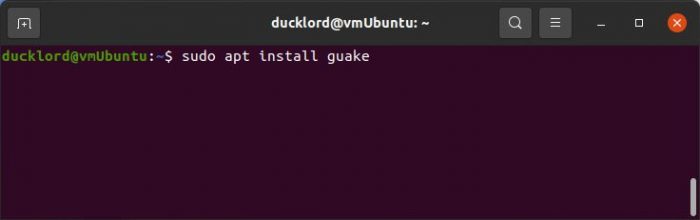
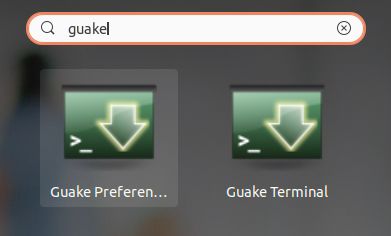
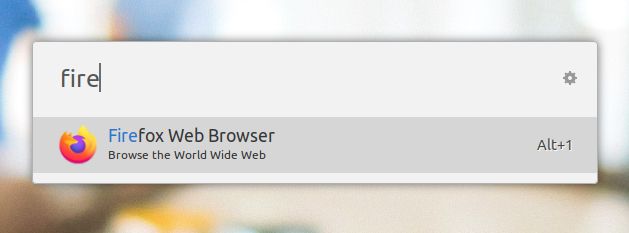
Then, search in Ubuntu’s main menu for “guake” and launch “guake terminal”.
When back at your desktop, no matter what you’re doing, whenever you press Guake’s hotkey (by default F12), you’ll see its terminal sliding down from the top of your screen. Press the same hotkey again to hide it.
Note that it’s also worth checking out Guake’s settings if you want to take advantage of everything it has to offer. You see, Guake also comes with support for tabs, split windows, and more, and is much more versatile than the average terminal.
7. Instant App Launching
Some prefer docks, others go for launchers, and admittedly both types of apps have some overlap. They both have the same primary goal: to assist you in locating, launching, and managing your favorite apps. However, I personally usually use both since each excels at different things.
Like Plank (that we saw above), docks are great for having instant access to a specific but static group of apps and quickly switching between active windows.
On the other hand, Launchers are better for locating and launching apps you don’t use often. They also take advantage of their very nature, the fact that “they are a field where you type things”, to offer functionality found in other solutions where…
Well, the easy way to put it is “other solutions where you also type things”. For example, a launcher might allow you to use terminal commands directly in its command field. Or enter a query you’d use on sites like Google or IMDb without having to visit them. Or a calculator.
Some even come with dozens of extensions that further extend that functionality, themes that affect their appearance, and all the options you’d expect to find in something like Star Trek’s holodeck.
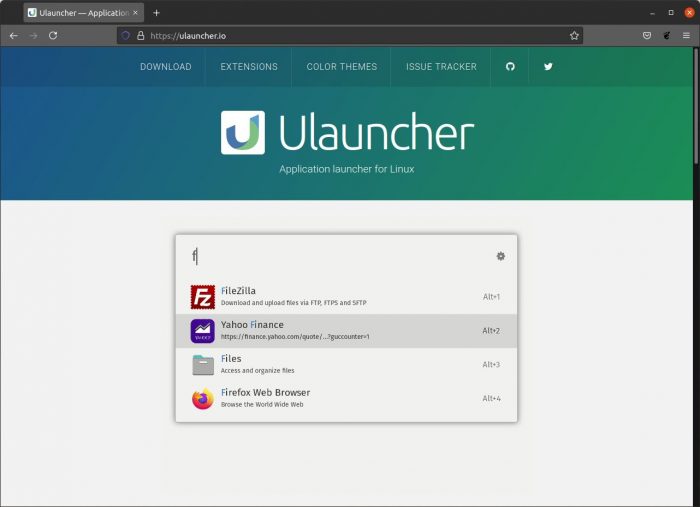
I personally like uLauncher for its combination of looks, features, and customizability. Unfortunately, it’s not available in Ubuntu’s default repositories. Thus, you will have to download its Deb file from its official site and install it manually.
Alternatively, and that’s the solution we will see here, you can add its repository to your Ubuntu installation’s software sources and then update its software list before installing uLauncher. To do that:
Visit uLauncher’s official download page, and choose the version you want to download (Stable/Dev release). Copy the PPA line listed under Ubuntu.
Run your favorite terminal, and add the PPA to your list of software sources using:
sudo add-apt-repository PPA_TO_ADDReplace “PPA_TO_ADD” with what you copied from uLauncher’s site. Then, update your sources with:
sudo apt updateFinally, install uLauncher with:
sudo apt install ulauncherFind uLauncher among the rest of your apps and run it. From then on, whenever you want to use it, press its shortcut (by default CTRL + Space) and start typing the name of the app you want to launch.
Remember to check out its settings, to customize uLauncher to your liking, and find out more about everything you can do with it.
8. Bring More Apps Onboard
With everything set up, we are now ready to start using our brand-new Ubuntu installation. We can check our emails, copy files, browse the Internet, edit docs or images, play some media…
Soon, though, the limitations of the software included with Ubuntu become apparent, and you will need something more. Maybe you want to edit some videos, play some games, or hang out with friends at Discord. That’s when it’s time to install more software.
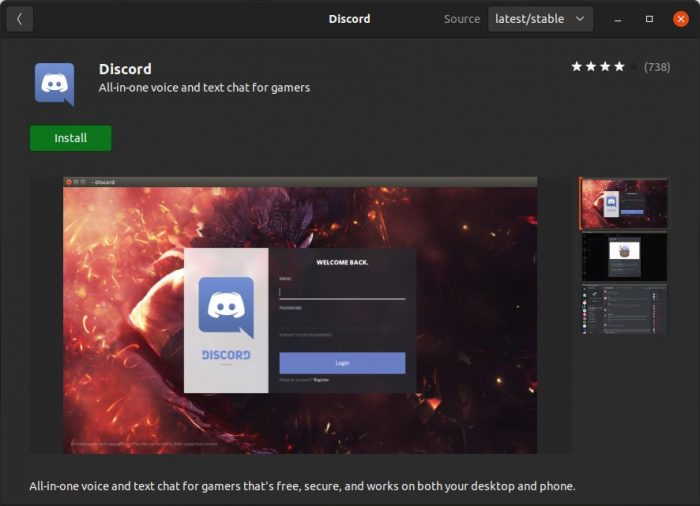
Feel free to check out Ubuntu software center’s lists, and install anything that looks interesting or fun. Solutions like Handbrake, Krita, Skype, or Blender, are more than worth a look. Or, you might be among those who believe that Steam is enough. Whatever your preferences, it’s almost a given you will find something for you among the thousands of solutions in Ubuntu’s software center.
9. Enable the Firewall
Before you start actively using your new Ubuntu installation on your computer, it’s best to spend five more minutes on the most boring topic of all: security. However, those five minutes now can save you from hours of future headaches. Don’t worry; there’s a way to keep it simple.
Typically, you can control the firewall that comes with Ubuntu through the terminal. However, instead of boring you with command after command, let’s go for a more straightforward alternative: the GUFW front-end.
Run your favorite terminal, and use the following to install GUFW:
sudo apt install gufw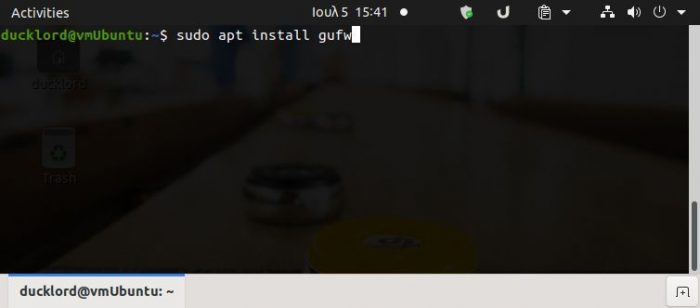
Find GUFW among the rest of your installed apps and run it.
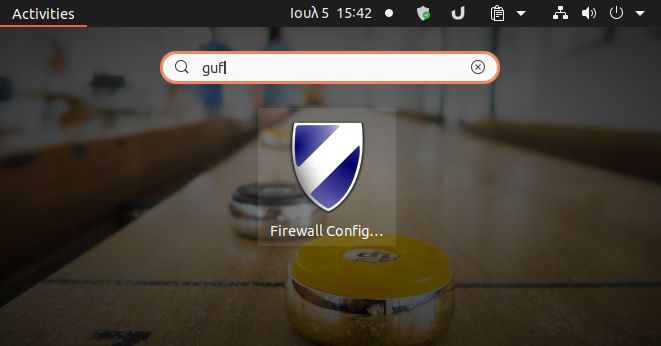
Flick its “Status” switch to On and, for the majority of users, that was it!
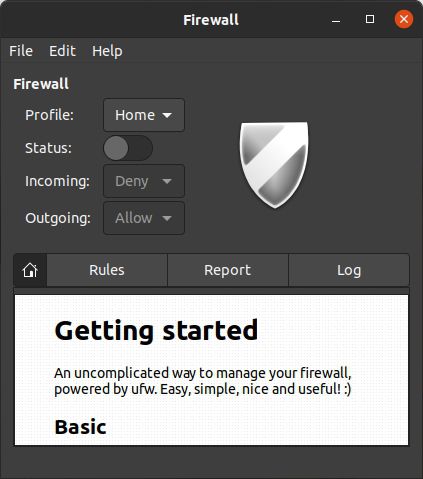
You can create your own firewall rules to fine-tune how your computer communicates with the rest of the world, but that’s a story for another time. For simple day-to-day use from most users, the firewall’s default settings should be more than enough.
10. Back Everything Up
After all the time you’ve spent installing, configuring, customizing, and extending your new Ubuntu installation, wouldn’t it be a shame having to do everything from scratch after a mishap?
This “mishap” could be anything, from filesystem corruption after a power outage to an SSD which decided it’s now an ex-SSD.
Yes, all this means that it’s time to talk about what everybody hates: backups. Still, the experience of fully backing up your operating system and crucial data doesn’t have to be annoying. That’s thanks to apps like Timeshift that simplify and automate the process for you.
To install Timeshift, open your favorite terminal and use the command:
sudo apt install timeshift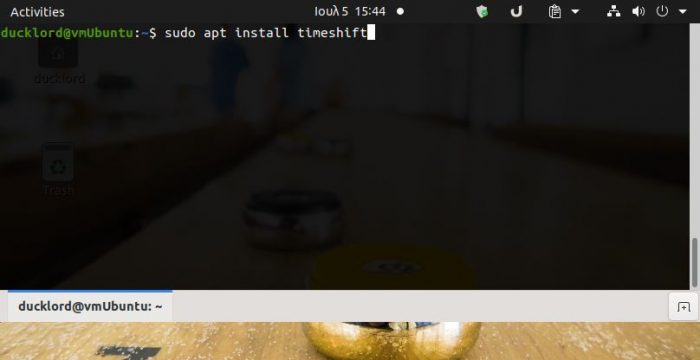
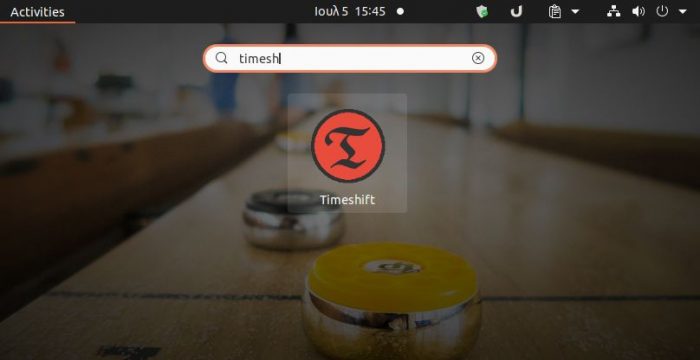
Then, find it among the rest of your installed apps and run it.
Now, you only have to follow the steps of its Setup Wizard, and soon you will have a complete backup of your operating system to restore if something goes wrong.
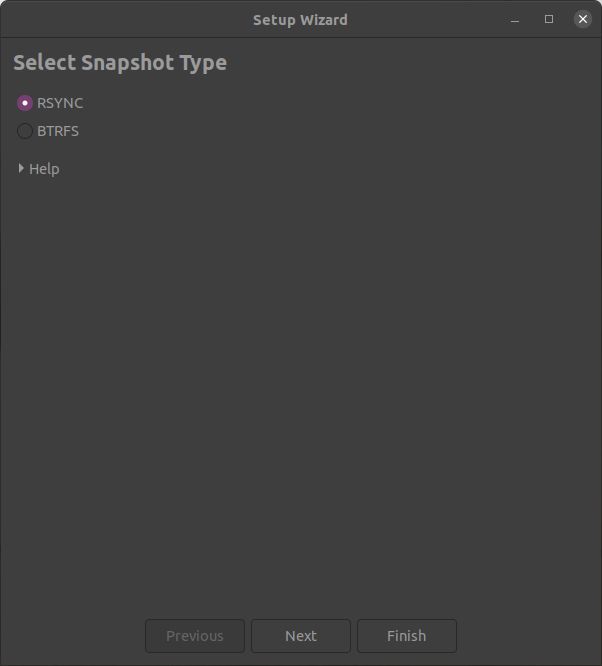
Also, depending on your choices during the wizard, you can also have incremental backups of your Ubuntu installation taken automatically to always keep your backups up to date.
Outro
After everything we saw, you can now start using not only a new Ubuntu installation, but your Ubuntu installation. One that you customized and extended to your liking, to which you’ve added the software you prefer. And which, if something goes wrong, you will always be able to restore to its former glory in mere minutes.
Now, that’s Ubuntu the way it should be: your Ubuntu, and the reason people all around the world use it as their primary OS. Enjoy it!