Are you seeking a note-taking solution, but you realized none would work for you after trying dozens? Do the apps you’ve tried feel too complex, or the opposite, are too rudimentary for your needs? Well, allow us to suggest another one: Notejot. We can safely guess it flew under your radar.
Notejot isn’t as popular as Evernote, Onenote, or even QOwnNotes and Joplin. Nor does it offer all the features they do. However, it’s a great alternative if you’re seeking something similar to Google Keep, but without having to send all your personal notes to Google.
Sounds interesting? Let’s take a closer look and see how you can use Notejot to quickly and effortlessly jot down and organize your notes.
Installing Notejot
Notejot might be available in your Linux distribution’s repositories. Thus, it wouldn’t hurt to seek it there and install it through your package manager.
Even if it isn’t available there, you can bring it on board just as easily thanks to the magic of Flatpak.
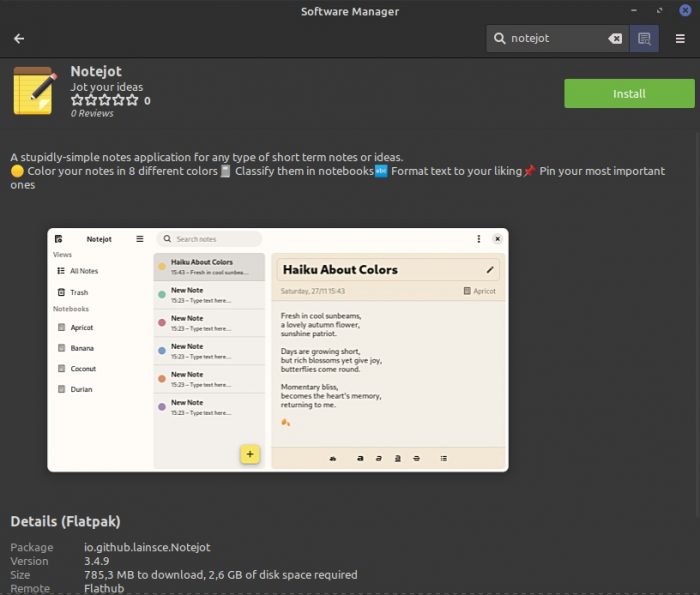
In our case, those two options were the same: Notejot was available in our Distribution’s That Shall Not Be Named software collection. As a flatpak.
If you’d prefer the manual way and aren’t afraid to build it yourself in that strange contraption called “the terminal”, check the app’s official page at Github.
Notejot VS the World
Note-taking solutions are a varied species of software.
Some are tame, friendly apps like Gnome Notes. From the first moment you see them, you feel right at home. However, in the long run, if you demand anything over a note-centric notepad, they end up lacking.
OneNote is great for those who like organizing everything in tidy notebooks. EverNote is even better if you like creating thematic groups between your notes with tags. Especially if you want your notes synced between many devices – and don’t mind the cost.
Then, there’s always something like Obsidian, making us question what a note-taking app is. With Obsidian, you start using the app as a typical note-taking solution. One year down the road, you’ve sold your third cookbook with the recipes you’ve organized in a brain-like database in Obsidian. For many, that’s overkill.
Notejot feels like a breath of fresh air by sitting smack in the middle. It’s as straightforward as good old sticky notes but offers extra text editing and organization features. It’s open-source and free, but with a well-thought-out minimal interface that can give more chaotic commercial solutions a run for their money.
However, Notejot won’t offer you Obsidian’s versatility, EverNote’s support for syncing between various platforms, or OneNote’s handwriting recognition. If you need such features, you’d better try those apps. In action, Notejot feels like a “lite” combination of their core functionality. If that’s what you’re seeking, read on.
How to use Notejot
We saw how you can install Notejot and how it differs from other note-taking apps. But how can you use it for jotting down and organizing your notes?
Take new notes
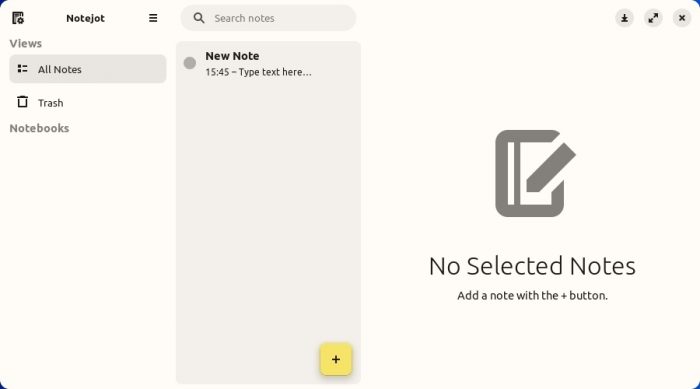
After installing it, run Notejot, and soon its empty-for-now window will pop up on your screen.
Click on the button with the plus symbol in the middle column of Notejot’s interface to create a new note.
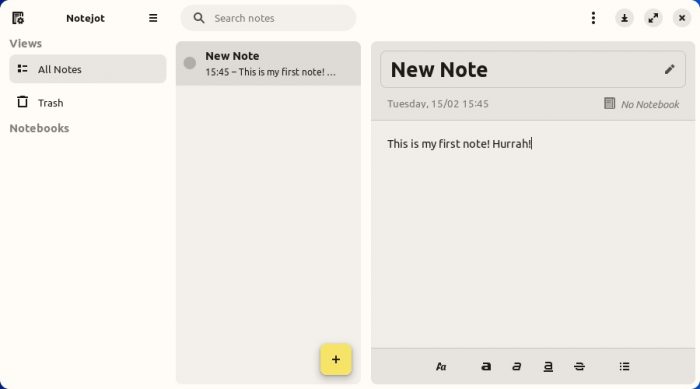
Your new note will come with some placeholder text. Click on the note to change that to something more useful.
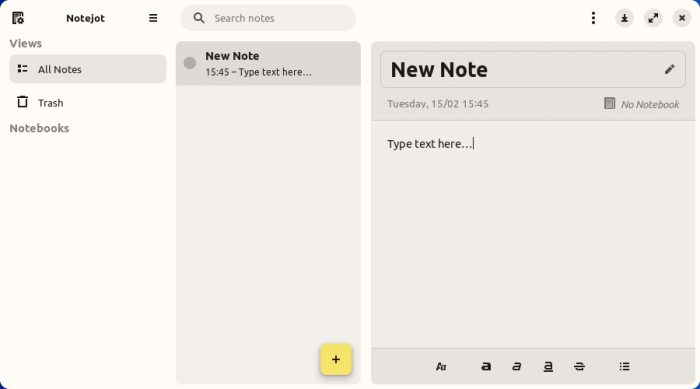
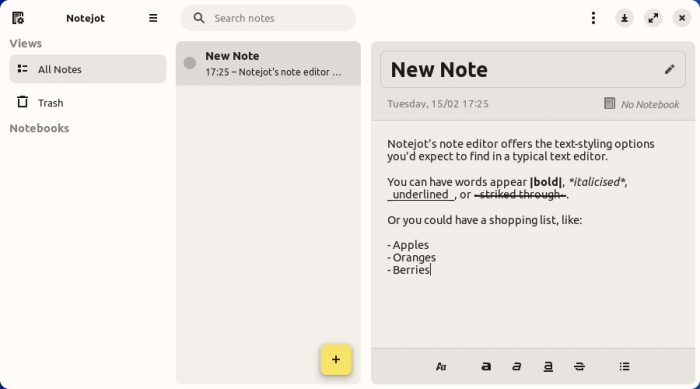
The right side of Notejot’s window is where you edit your actual note’s content. In use, it’s no different than any typical text editor.
Style your notes
Take note (and yes, that was supposed to be a pun!) of the styling controls at the bottom of the window. You can select a text string from your note and use those controls to “style it” like you would in a proper text editor. You can turn some text bold, italic, strikethrough, and add some lists.
Specifically, there are six buttons on the bottom of the window. Their function, in sequence, is:
- Remove styling from text (although it didn’t work as it should while testing the app and left unwanted elements in our notes).
- Bold selected string of text.
- Italicize selected text.
- Underline text.
- Mark selected string as strikethrough.
- Turn text into a list entry.
However, it’s probably easier to use Notejot as a Markdown-lite editor. Instead of relying on those buttons, you can add some markup directly in your text to “style it”.
- Enclose some text in “pipes” (the vertical lines that show up if you press Shift + backslash on US-English keyboard layouts) to turn it bold.
- Add an asterisk before and after some text to have it italicized.
- Use underlines (Shift + dash on US-English keyboard layouts) before and after some text to underline it.
- To have it show as strikethrough, add the tilde character (Shift + backtick, “the key on the left of 1” on US-English keyboards) before and after some text.
- Add a dash as the first character on a new line, followed by a space, then some text, to have that string show as a list entry.
Organize your notes
Like OneNote, Notejot allows the use of notebooks for organizing your notes. It doesn’t support categories, tags, or any other way of organization. Thus, notebooks are the only way of organizing all your notes. At least, for now.
To categorize your notes in separate notebooks, those notebooks should first exist. And for that, you’ll have to create them yourself.
For that, you can use the button at the top left corner of Notejot’s window. Click on it, and a new window will pop up over its interface, allowing you to Edit Notebooks.
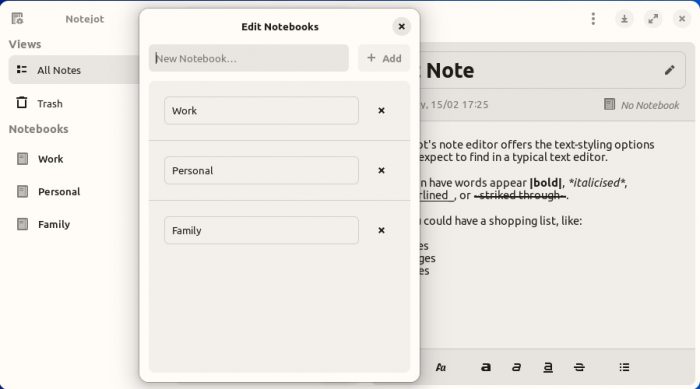
You can type the name of a new notebook in the empty field at the top of the window, then click on the + Add button on its right to create it. You’ll see your new notebook appear on the list below.
For the opposite, removing a notebook, click on the little x button on its right.
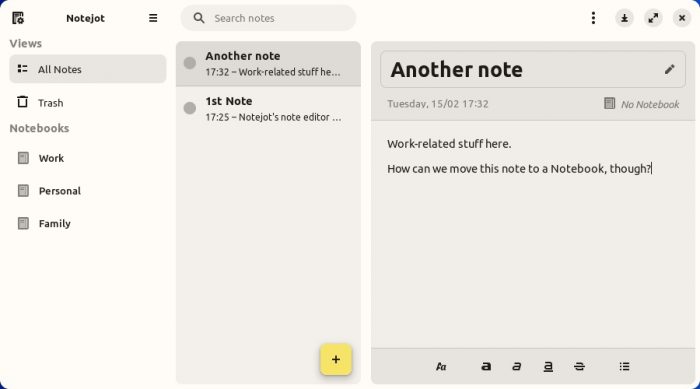
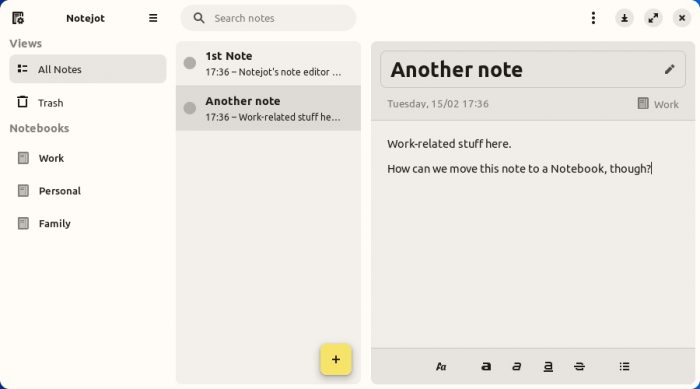
You might have noticed a “No Notebook” indication at the top right of a note’s preview, on the right of Notejot’s window.
No matter how much you try clicking on it, nothing will happen, for that’s one of the areas where Notejot’s interface fails: that’s only an indication of the notebook where (and if) the active note belongs. To actually move the selected note to a notebook, you have to look elsewhere and follow some more convoluted steps.
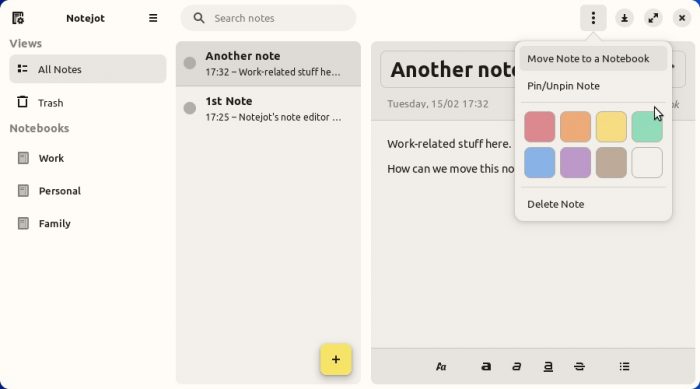
With the note you want to affect selected and active, click on the button with the three dots at the top right of Notejot’s window. The first option, Move Note to a Notebook, is what you need. So, click on it.
A new window with a list of your notebooks will show up. Select the notebook where you want to move your note, and then click on the Move button on the top right.
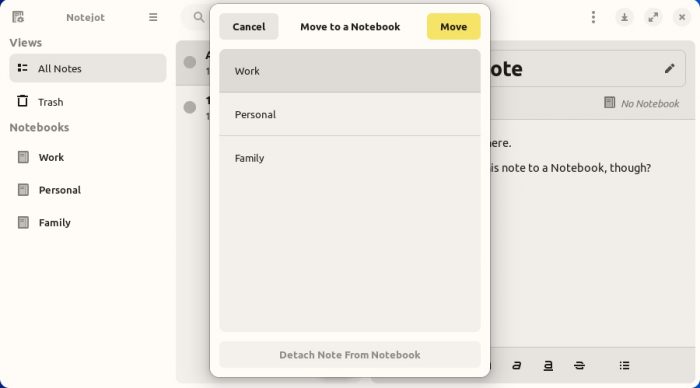
As you’ll see when you return to the note, the indication on its top right will now show the notebook where you moved it.
If you return to the menu that shows up when you click on the button with the three dots, you’ll see some more actions you can perform on your notes.
- You can choose Pin/Unpin Note to keep important notes readily available.
- You can color-code your notes (although there’s no way to customize the available colors yourself – at least until now).
- You can delete the note.
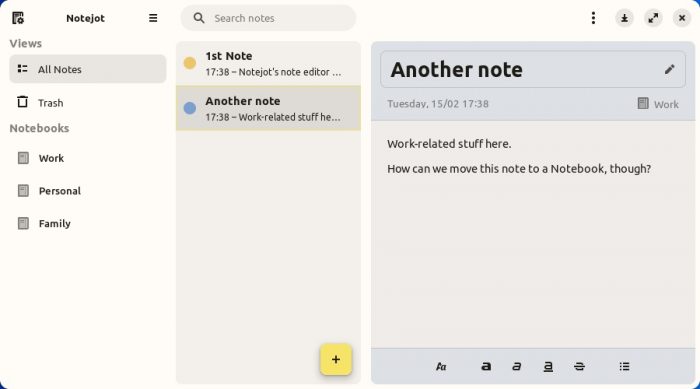
You can use color-coding as a secondary way to categorize or prioritize your notes. A note’s color appears in two spots:
- On the notes list, at the center of the window, as a colored circle on the left of each note.
- As a note title’s background color, when you’ve selected the note or are editing it.
This Will Do
Notejot is an excellent note-taking solution with enough features for most people’s needs. However, for more demanding note-takers, it might feel limited. If you’re among them, some alternatives worth looking into are:
- Evernote
- OneNote
- Joplin
- QOwnNotes
- Simplenote
- Obsidian
Each offers more functionality than the admittedly somewhat basic Notejot. The tradeoff is their increased complexity – or price, for commercial solutions like Evernote.
For most people, though, Notejot is more than enough. It lets you jot down your thoughts in separate notes. To organize them in notebooks, color-code them, and pin the most important ones to always have them instantly available.
It’s easy to install on most Linux distributions and free. So, why not give it a try?